
Shelf Genesys Cloud Integration: Shelf App Installation Guide
Document Version History
Version number | Modified by | Modifications made | Date modified | Status |
1.0 | Shelf | Initial release of the document. | 20 March 2021 | Expired |
1.1 | Shelf | Updates made to the document to include new graphics, new wordings, new style and layout to bring it to compliance with the corporate tone and voice. | 30 August 2022 | Expired |
1.2 | Shelf | The new chapter on the Shelf App installation as a custom client application has been added. | 28 March 2024 | Active |
Document Purpose
- Install Shelf Premium Appvia AppFoundry
- (Alternative) Install Shelf Premium App manually via URL
- (Alternative) Install Shelf as Custom Client Application
Installing the Shelf App via AppFoundry
Prerequisites
The Shelf Genesys Cloud App needs to be added to your Genesys Cloud instance by Genesys Support. Please contact your Genesys Account Manager to request Shelf be added to the available integrations on your Genesys Cloud account. Make sure your licensing agreement with Genesys and Shelf enables installation via AppFoundry. To check it, while in your Genesys Cloud instance, go to Integrations > Integration > All permissions (included in the Master Admin role).
Installation Procedure
- Go to Admin > Integrations > Integrations in your Genesys Cloud instance. Once on the Integrations / Integrations page, locate and click the +Integrationsbutton in the upper right corner.

Figure 1. Navigating to the Integrations section in Genesys Cloud
 Figure 2. Starting to add a new integration in Genesys Cloud
 - On the page that opens, use the search field to look for the Shelf App. Once the app has been found and displayed, click the Installbutton at the bottom of the app tille.

Figure 3. Starting the Shelf App installation
- In the popup window that appears, agree to the terms and conditions by selecting the respective checkbox, and click the Yesbutton.
 Figure 4. Agreeing to the respective third party app installation and usage conditions
 - Once done, you are redirected to the App page with the Details tab open. On that page, navigate to the upper right part and toggle the Inactive switch on to the Active state. Perform this to active the installed Shelf App. Following that, click the Save button. You can also add some description for your Shelf App in the respective Notesentry field, if needed.

Figure 5. Activating the Shelf App in Genesys Cloud
- Once done, you are taken back to the Integrations / Integrationspage where you can see the Shelf App available in the list. If you cannot see it, reload Genesys Cloud (or log out and log in again).
 Figure 6. Checking the Shelf App on the Integrations page
 - At the same time, the Shelf App should be also available in and accessible from the Appstab in the Genesys Cloud top menu bar.

Figure 7. Checking the Shelf App in the Apps tab
Role Permissions
To be able to see the Shelf App in the Apps tab list, your user role must possess the permissions displayed in Figure 8. To check if the permissions are granted, open the Admin menu, select the Roles / Permissions option on the Admin page, select your role from the list of available user roles, and then make sure everything is as displayed in the figure below.
Figure 8. Checking your user role permissions in Genesys Cloud
Shelf Widget Installation
https://purecloud.shelf.io/search/?langTag={{pcLangTag}}&environment={{pcEnvironment}} |
| https://purecloud.shelf-eu.com/search/?langTag={{pcLangTag}}&environment={{pcEnvironment}} |
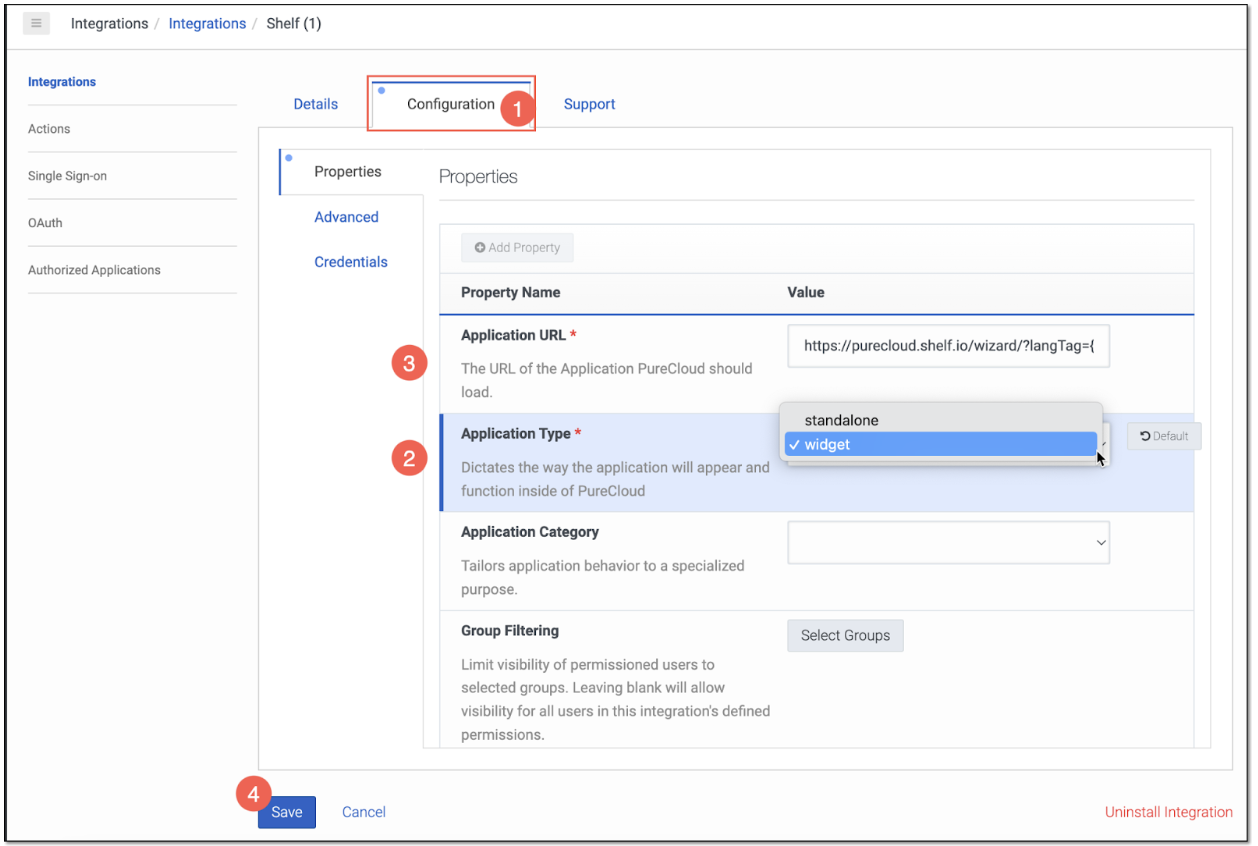 Figure 9. Installing the Shelf Widget in Genesys Cloud
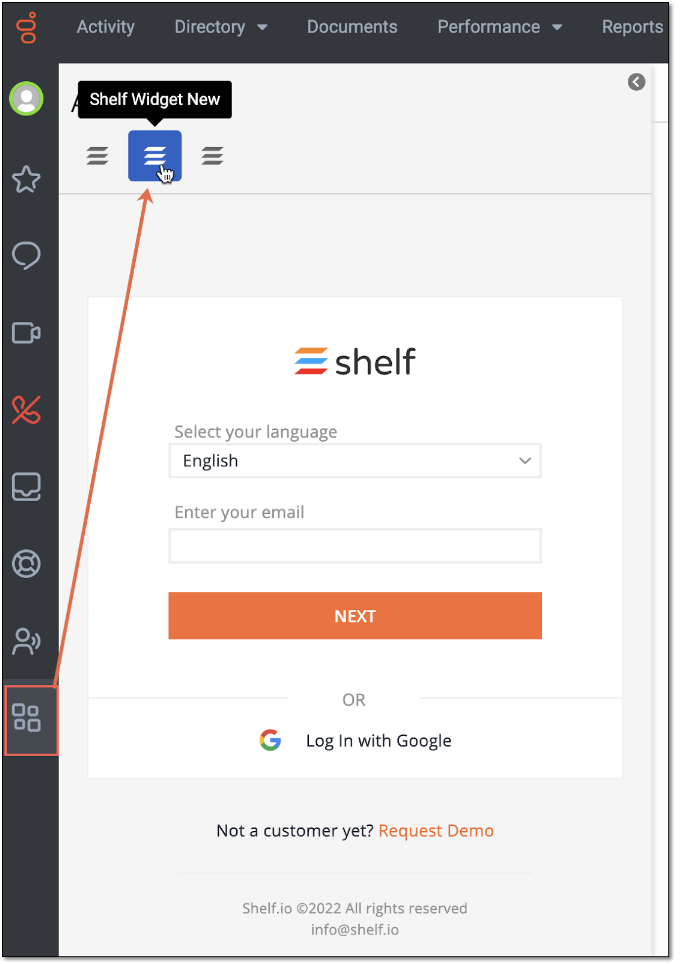 Figure 10. Checking the Shelf Widget in the Genesys Cloud Apps menu
Installing the Shelf App Manually via URL
As an alternative to the integrated installation, you can manually install the Shelf App following the below procedure.
Prerequisites
Installation Procedure
- Navigate to https://purecloud.shelf.io/wizard/install and click the Next button.
Note:
If you wish to install the Shelf App in an international environment, e.g. in the EMEA (Dublin) or EMEA (Frankfurt) regions - use these URLs instead:EMEA (Dublin) https://purecloud.shelf.io/wizard/install/?langTag=en-us&environment=mypurecloud.ie EMEA (Frankfurt) https://purecloud.shelf.io/wizard/install/?langTag=en-us&environment=mypurecloud.de 
Figure 11. Starting to manually install the Shelf App in Genesys Cloud
- Click the Nextbutton once again.

Figure 11. Passing further automatic steps in Genesys Cloud
- Once clicked, the installation starts and is expected to be complete in a few seconds. After the installation, both the Shelf App and Shelf Widget become available for use. Afterwards, you are redirected to the Login to Shelfpage. When you see it, close it and proceed to the next step.

Figure 12. Successful installation completion notification
- Go to the Genesys Cloud page.
- The app is now available in and accessible from the Appstab in the Genesys Cloud top menu bar, and you can start using it.

Figure 13. Checking the Shelf App in the Apps tab
Role Permissions
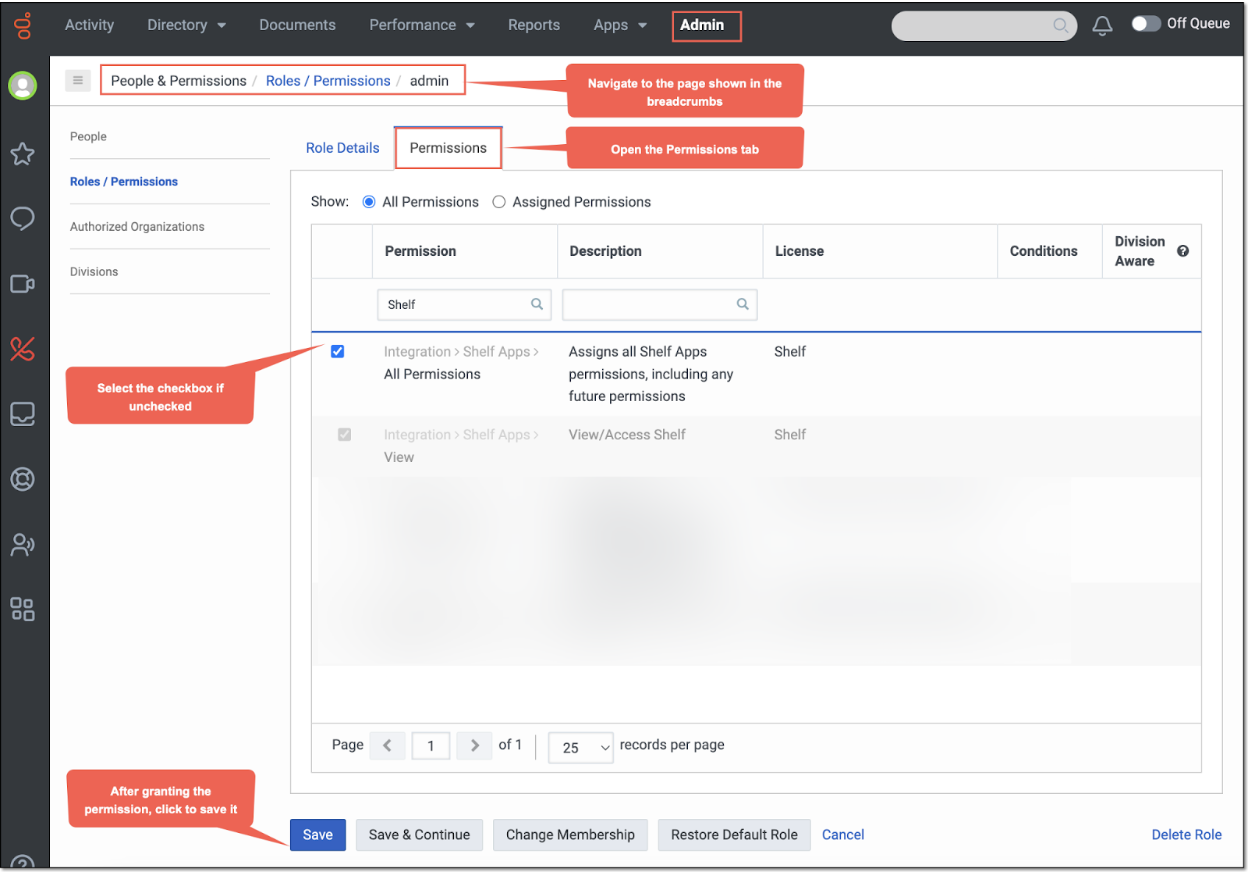
Figure 14. Checking your user role permissions in Genesys Cloud
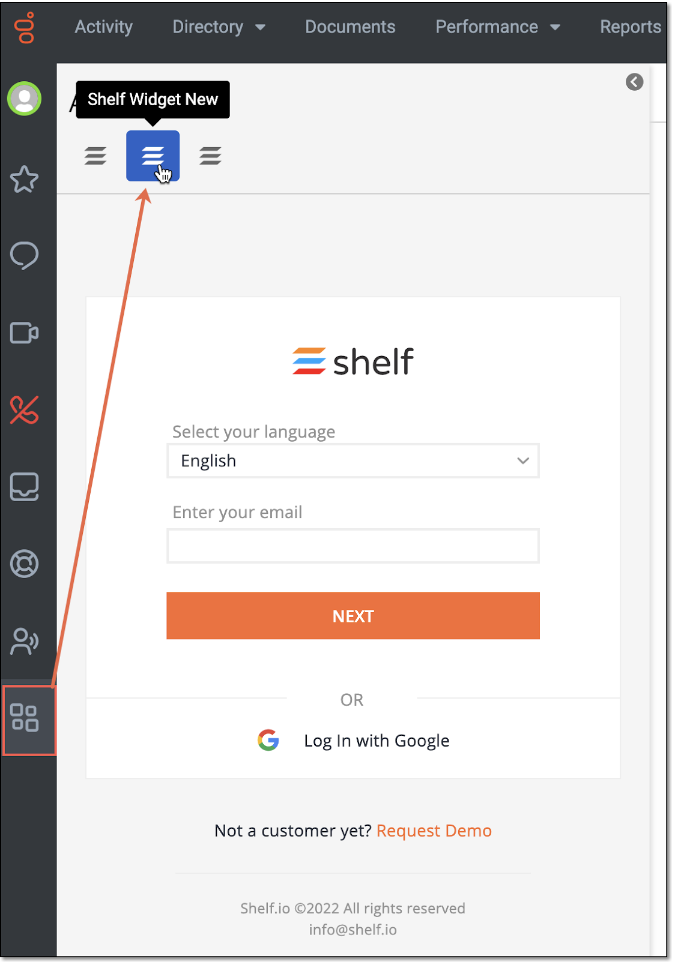
Figure 15. Checking the Shelf Widget in the Genesys Cloud Apps menu
Installing the Shelf App as a Custom Client Application
Prerequisites
Under a user role that has the Admin level of permissions log in to your Genesys Cloud instance in the same browser you intend to use for the Shelf App installation.
Installation Procedure
- Once logged in to your Genesys Cloud account, navigate to the Admin tab.
- On the Admin page, find and select the Integrations option in the Integrations section.

Figure 16. Accessing the Admin settings in Genesys Cloud
- On the Integrations page that opens, select the +Integrationsbutton to bring to the screen cards with available applications.

Figure 17. Adding integrations in Genesys Cloud
 Figure 18. Viewing available application cards
 - Use the search field to find and select the Client Application card. Once found, click the Installbutton.

Figure 19. Starting the custom client application installation procedure
- On the page that opens, enter the desired name - Shelf App - for your custom application. Add any text to the Notes field if needed. Click Saveto save changes.

Figure 20. Adding name and notes to the custom Shelf App
- Next, go to the Configuration tab, Properties section, and fill in the fields as shown in the table below.
Table 1. Custom application configuration properties and values
Property Name | Property Value |
Application URL | https://purecloud.shelf.io/wizard/?langTag={{pcLangTag}}&environment={{pcEnvironment}} Use the proper domain address based on your region - shelf.io / shelf-eu.com / shelf-ca.com etc. |
Application Type | standalone |
Iframe Sandbox Options | allow-scripts,allow-same-origin,allow-forms,allow-modals,allow-popups |
Group Filtering | Select desired group(s) to have access to the Shelf app |
Leave other fields empty or unchanged. |
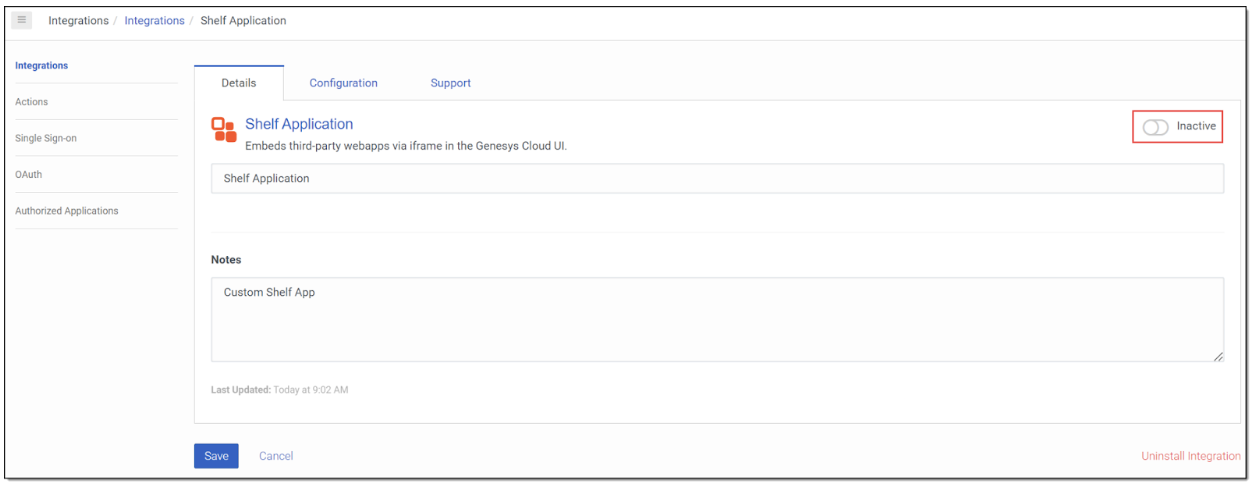
Figure 21. Activating the Shelf App

Figure 22. Viewing the Shelf App installed as custom client application